Copy Technique for Complete Dentures
Overview
The “Copy Denture Technique” can be a straightforward and effective method of providing a replacement set of complete dentures for carefully selected patients, by incorporating the most favourable features of their previous denture(s) and correcting the most unfavourable.
Key Clinical Indications
- Patients presenting with upper and lower complete dentures which have been satisfactory for many years but are now loose or worn.
- Patients with a history of denture problems where it may be useful to make controlled modifications in the copy denture of the most successful features of previous dentures.
- Previous immediate dentures that require replacing after post extraction bone resorption.
- TA patient who requests a ‘spare’ set of dentures.
Advantages of the technique
- Enables the reproduction of successful design features which have determined the patient’s tolerance and control of previous dentures.
- Allows the accurate correction of the undesirable features of previous dentures.
- Provides a simplified occlusal registration technique.
- Requires a reduced number of clinical visits to the dental surgery.
MediMatch Copy Denture Protocol
The following suggested copy denture protocol is not intended to be prescriptive – it is recognised that there are several alternative techniques available for use by clinicians, but observing the steps below will ensure that MediMatch produces copy dentures of consistently high quality, and will significantly reduce the potential for remakes.
STEP 1
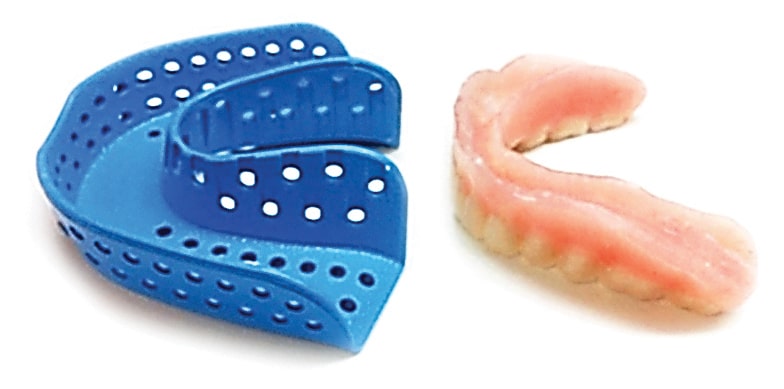
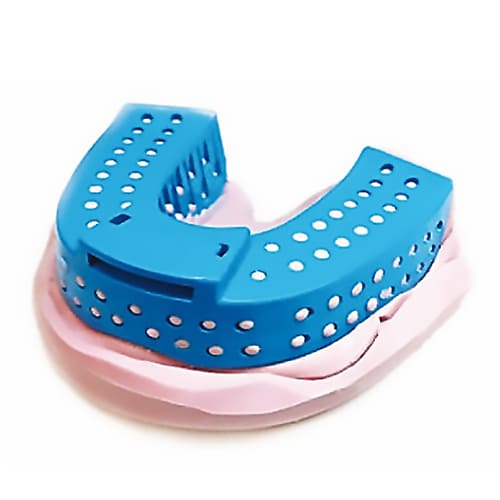
Select a disposable impression tray which easily accommodates both the denture and the duplicating putty.
STEP 2
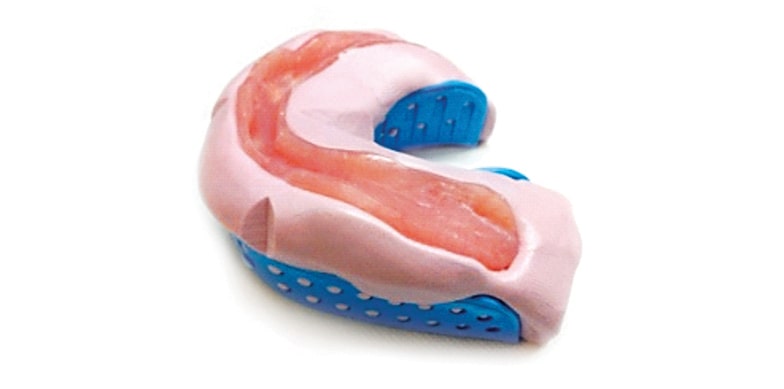
Mix the duplicating putty, place it in the tray, and then push the denture into the putty, with the denture’s fitting surface uppermost.
MediMatch TIP1
Avoid contact between the denture and the tray and make sure that the putty is moulded to reach the full depth of the periphery of the denture.
STEP 3
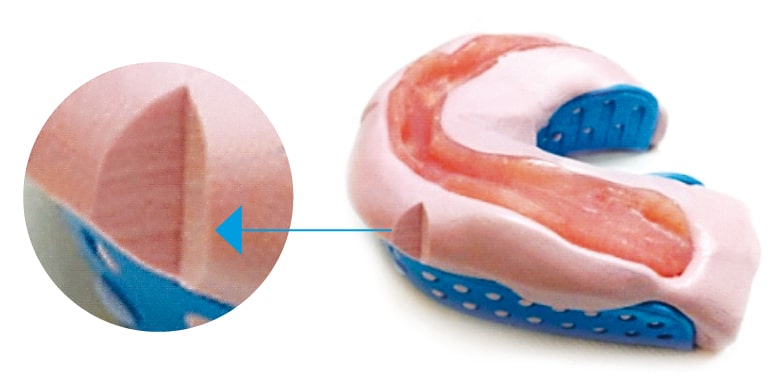
Mix the Once the putty is set, cut two or three locating notches (to ensure that MediMatch can locate the two parts of the impression mould accurately).
Then apply a thin layer of separating medium such as VaselineTM or Baby oil to the cured putty surface.
STEP 4
- Mix enough putty to form a good base for the mould.
- Push a small amount of the mixed putty onto the fitting surface of the denture to prevent voids forming between the denture and impression material.
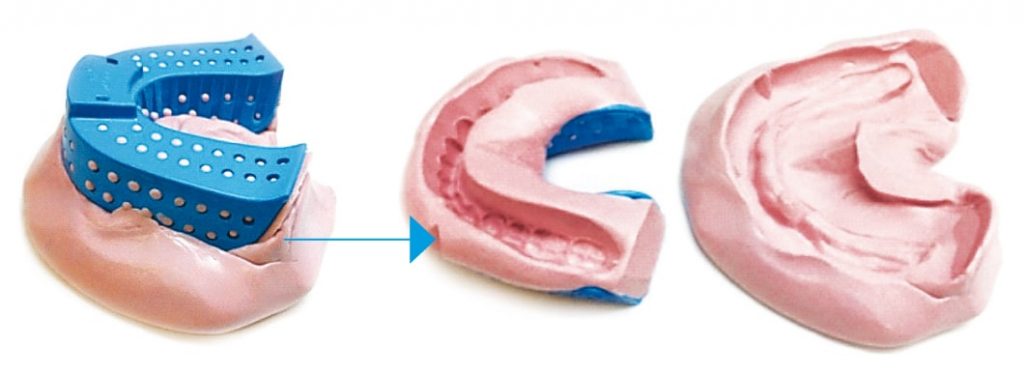
- Place the remaining putty on a hard flat surface and press the denture into it, engaging the V-shape cuts created at step 3.
MediMatch TIP2
Always ensure that sufficient putty is used to create a substantial mould base, to prevent potential distortion during processing in the laboratory.
STEP 5
When the two halves of the mould have set completely, separate them, and carefully remove the denture.
Record the required tooth shade on the MediMatch Laboratory Form.
STEP 6
- Trim any excess putty from the mould periphery.
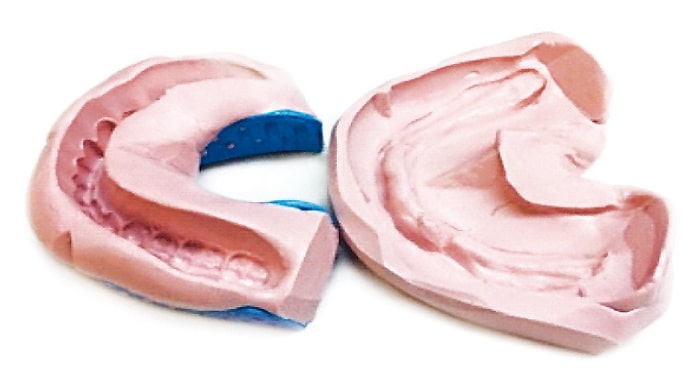
- Inspect the mould carefully, ensuring that there are no air bubbles or voids, and that the impression has faithfully reproduced all features of the denture.
- Ensure that both parts of the mould locate accurately together, in one position only.
STEP 7
- Place both halves of the mould in a disinfection* bath for the time specified in the manufacturer’s instructions.
- Remove the moulds from the decontamination bath, rinse under running water, and then seal in a grip seal bag.
- Label the grip-seal bag with details of the patient and method of decontamination.
- Complete the MediMatch Laboratory Form fully, and arrange for dispatch to MediMatch as soon as possible.
STEP 8
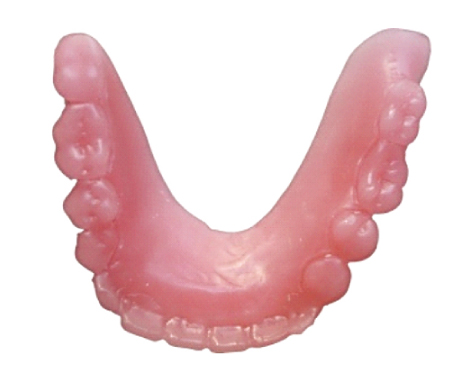
MediMatch will now create a wax copy of the old denture using the impressions provided by the dental surgery.
MediMatch TIP3
The dental surgeon must indicate on the laboratory form if the copy denture is to be constructed entirely in wax or if an acrylic base is required for additional stability. An acrylic base try-in provides a more stable and accurate platform for taking the reline impression.
STEP 9 – Wax (or Acrylic/Wax) Copy Denture Try-In
- Check the bite, OVD and required shade, mould, position and set-up of the teeth.
- Take a reline impression, using an *appropriate impression material, ensuring that the material bonds to the wax copy denture – monophase silicones do not adhere well to wax, it is therefore important to use an appropriate adhesive in all cases.
- For upper and lower complete copy dentures, reline impressions should be taken with the patient in centric occlusion.
- Follow the disinfection procedure detailed at Step 8, and arrange for shipment to MediMatch as soon as possible.
STEP 10 – Final Try-In
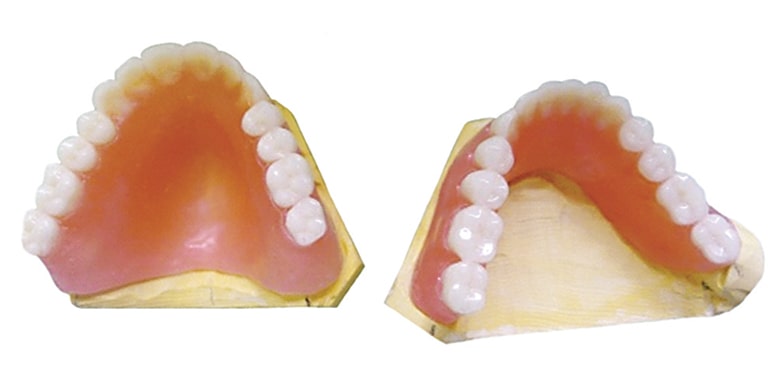
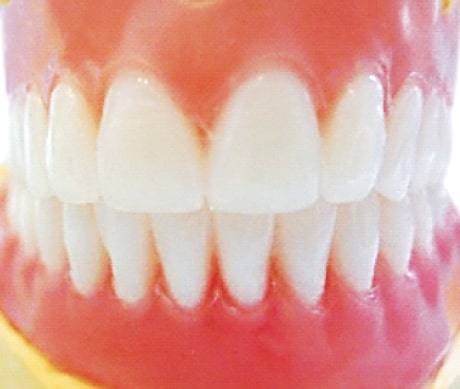
MediMatch will provide a final set-up, based on the wax copy denture reline impression supplied.
Please confirm at this stage that:
- The bite is correct and that the copy denture is stable and retentive.
- Position, mould and shade of the teeth are correct and have patient approval.
- The contour of the polished surface is as required, as this will determine the overall contour of the finished denture.
Follow the disinfection procedure detailed at Step 8, and arrange for shipment to MediMatch as soon as possible.
MediMatch TIP4
The dental surgeon must indicate on the laboratory form if a copy of the original models is required, as the originals will be destroyed during the fabrication of the finished copy dentures.
Legal disclaimer
In addition to MediMatch’s normal terms and conditions we would like to point out that:
- This protocol is based on very limited experience Medimatch has with their cases and should only be used as an indication and not restrictive in any way or form.
- This protocol was not based on experience in a clinical environment. Clinicians will use their own technique, according to individual experience and training.
- This protocol should not be followed if the circumstances are different or if in any way or form it is clinically not appropriate to follow it even if the circumstances are similar as in the protocol. Each clinician should make their own decisions and not be restricted to following a protocol made by Medimatch Dental Laboratory Ltd.
- MediMatch Dental Laboratory Ltd is in no way liable for any clinical procedures and will not take responsibility for the use of the content of this protocol in a clinical or non clinical environment. Each clinician is ultimately responsible for their own clinical decisions regardless of any advice given by MediMatch Dental Laboratory Ltd in any form.
