


Recording a Bite Registration for the Edentulous Patient
Bite Registration Procedure
MediMatch TIP1
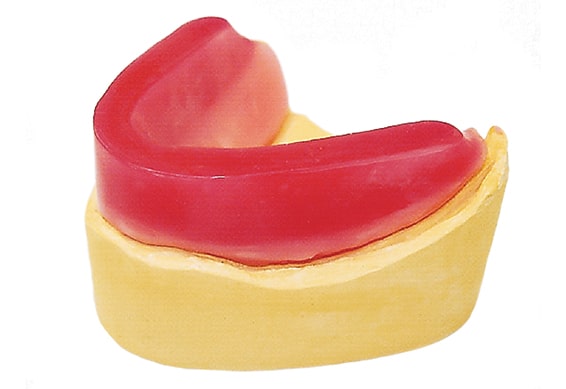
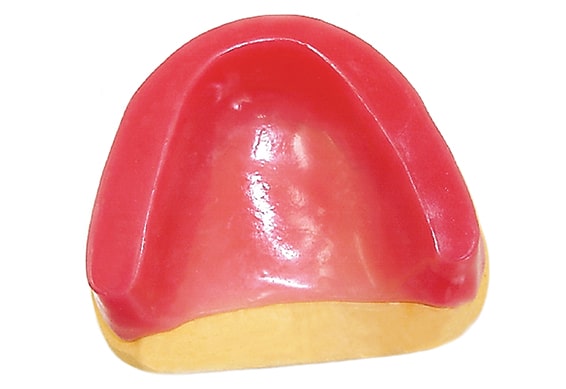
MediMatch recommends the use of laboratory constructed wax rim blocks with reinforce metal wire for all endentulous cases.
MediMatch TIP2
If an old denture is available this may be used to determine the vertical dimension. In this case the denture could be used as a special tray to take an impression. Use minimum amount of impression material and ensure that you use an adhesive between denture and impression.
STEP 1 – Try both rims in the patient’s mouth and check that they are comfortable and retentive.
If the rims are painful, they will disturb the patient’s normal range of mandibular movements, and if they are not retentive, they will cause the patient to try to “control” the rims, creating a “false” range of movements, and an inability to relax in their normal rest position.
STEP 2 – Adjust The Upper Wax Rim
Adjust the upper rim to record the correct occlusal plane level in both anteroposterior (parallel to the ala-tragal line) and mediolateral (parallel to the interpupillary line) dimensions with either an occlusal plane indicator or disposable wooden tongue spatula.
Adjust the upper rim to record the incisal level – this is related to the position of the upper lip, and typically corresponds with the level of the resting upper lip.
Trim the Labial, Buccal, and Palatal surfaces of the wax rim, to create a normal, functional and stable appearance (As a rough guide: Anteriorly, the nasolabial angle should be approximately 90° and Posteriorly, the buccal flange should fill the sulcus and slightly displace the buccal mucosa laterally and the palatal aspect of the rim should be adjusted to create adequate space for the tongue).
MediMatch TIP3
The softening temperature of hard wax rims is normally between 45° C and 55°C: always avoid overheating the wax to prevent rim distortion and inaccurate bite registration
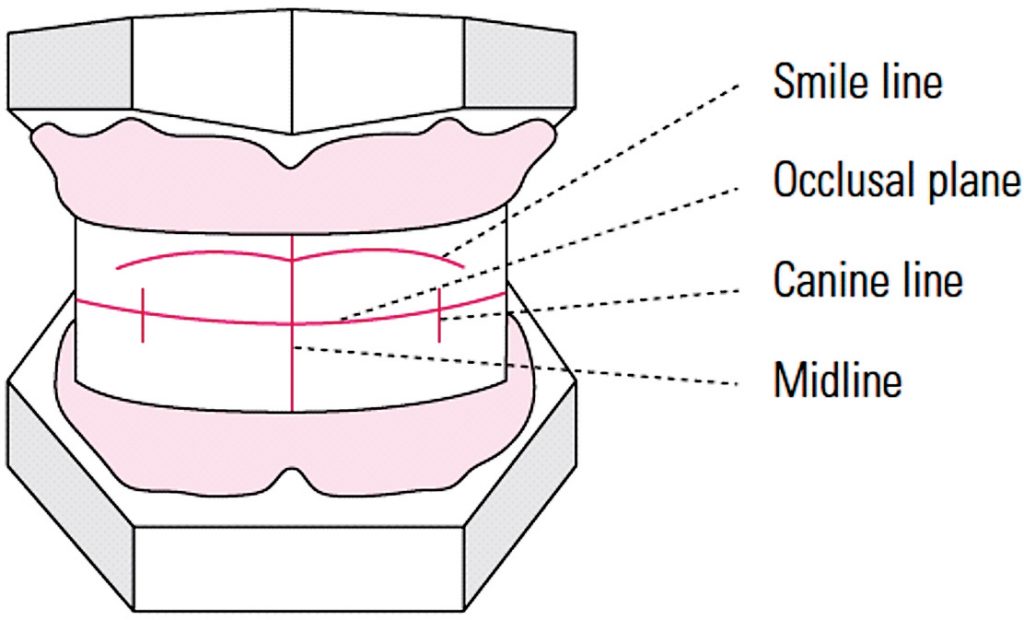
Clearly mark the following information on the upper wax rim with a wax knife:
a) Maxillary Midline.
b) Smile Line: Corresponds with the highest level of the patients lip when smiling – it determines the length of the anterior teeth (the necks of the teeth should be above this line).
c) Canine lines: Indicate the position of the canines, and the width of the upper anterior set-up (corresponds with the lateral aspect of the nostrils).
STEP 3 – Adjust The Lower Wax Rim
The overall height of the lower wax rim is determined by the previously modified upper rim (both upper and lower must fit into the required overall vertical dimension (OVD):
- Adjust the height of the lower rim to create the required OVD.
- Trim the labial, buccal, and lingual surfaces of the rim until it becomes stable within the surrounding musculature and sits within the neutral zone.
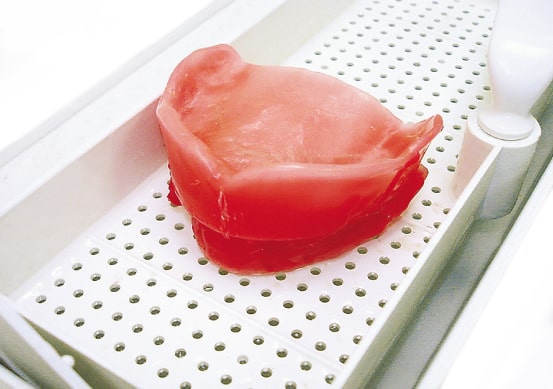
STEP 4 – Record the Retruded Jaw Relationship
MediMatch TIP4
If the patient has no previous dentures available to reference, it is acceptable to establish the OVD at approximately 3mm less than the patient’s RVD – this will provide a freeway space which is acceptable for most patients.
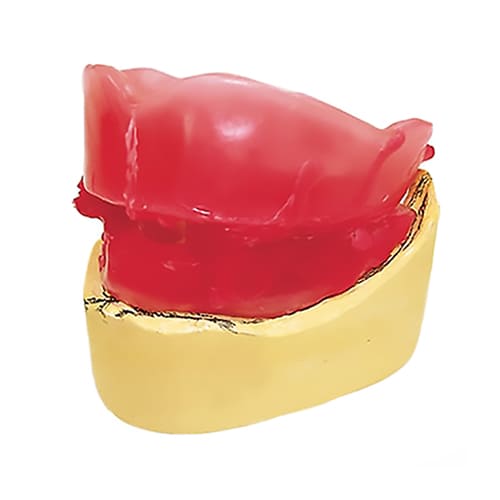
- Seat both upper and lower rims and ensure that the patient is as relaxed as possible.
- Remove the lower rim and thoroughly soften the wax using a wax knife.
- Reinsert the softened lower rim (caution may be warm), ask the patient to curl the tip of their tongue to the back of their mouth, touching the posterior border of the upper rim, and to close together into the softened wax, with the mandible in its retruded position, and at the required OVD.
- Remove both rims, cool, and trim (or cut) any excess wax.
- Reinsert the rims and ensure that a balanced occlusal contact has been achieved.
- Scribe three check lines (v shaped) across both rims in the recorded retruded position, one in the midline and one on either side in the premolar region – this helps MediMatch to accurately locate the rims outside of the mouth.
MediMatch TIP5
Before finally locating the rims, always check the following:
a) Both adjusted rims remain stable when placed in the patients mouth.
b) There is a consistent, reproducible horizontal jaw relationship.
c) There is balanced occlusal contact.
d) There is adequate freeway space.
e) The patient has a normal appearance when both rims are in place.
MediMatch TIP6
Check that you can locate upper and lower bite against each other when out of the patient mouth. Medimatch will need to reproduce this exact position.
STEP 5
Select and record the shade (and mould) of prosthetic teeth on the MediMatch laboratory request form.
STEP 6
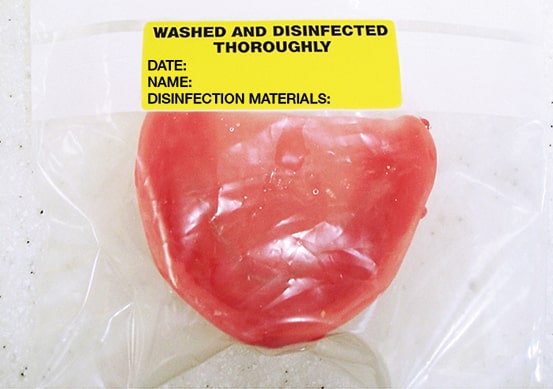
Disinfect the wax bite, place it in a grip-seal bag, label it, and send to MediMatch with the accurately completed laboratory request order form.
Legal disclaimer
In addition to MediMatch’s normal terms and conditions we would like to point out that:
- This protocol is based on very limited experience Medimatch has with their cases and should only be used as an indication and not restrictive in any way or form.
- This protocol was not based on experience in a clinical environment. Clinicians will use their own technique, according to individual experience and training.
- This protocol should not be followed if the circumstances are different or if in any way or form it is clinically not appropriate to follow it even if the circumstances are similar as in the protocol. Each clinician should make their own decisions and not be restricted to following a protocol made by Medimatch Dental Laboratory Ltd.
- MediMatch Dental Laboratory Ltd is in no way liable for any clinical procedures and will not take responsibility for the use of the content of this protocol in a clinical or non clinical environment. Each clinician is ultimately responsible for their own clinical decisions regardless of any advice given by MediMatch Dental Laboratory Ltd in any form.